Learn How - Connection Management and Change Tracking
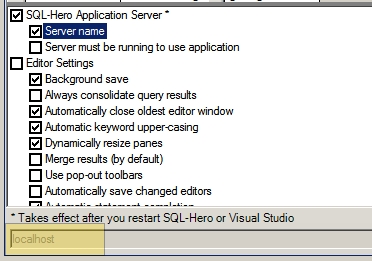
1. Be sure you've installed SQL-Hero server components. The document to consult on this one can be found here. Double check that you have a server name specified on the Settings tool:
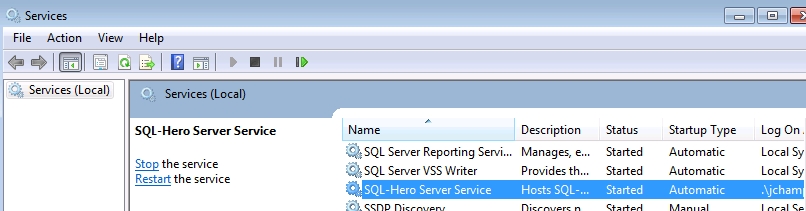
Also be sure the SQL-Hero Windows Service is running:
2. You can click on "All SQL Servers" or "Add Connection" to add a new connection on the Settings tool.

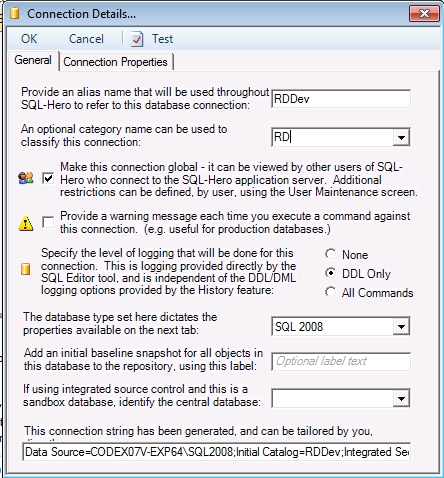
3. The connection dialog includes the following:
a). Alias Name - give it a name that will be used throughout SQL-Hero
b). Category Name - optionally categorize the connection
c). Make Global checkbox - when checked, the connection is stored in the SQL-Hero central repository database, in encrypted form. Only global connections can participate in some kinds of functionality such as change tracking.
d). Warning Message checkbox - when checked, you'll get a warning message when executing SQL against this database
e). Logging level - this is independent of the DDL tracking possible elsewhere and is specific to when using the SQL-Hero SQL editor tool. The option to log all commands means that even DML commands are recorded in the SQL-Hero central repository.
f). Database type - this is partly information, but also dictates other connection details which appear on the "Connection Properties" tab.
g). Baseline snapshot - only available for global connections, when text is provided here, it becomes the label for a baseline of all objects in the database, as recorded in the SQL-Hero repository.
h). Central database - when using source control based on the sandbox / central database model, this identifies the central database associated with this sandbox database connection.
i). Connection string - you can provide this manually or build it by using the Connection Properties tab.
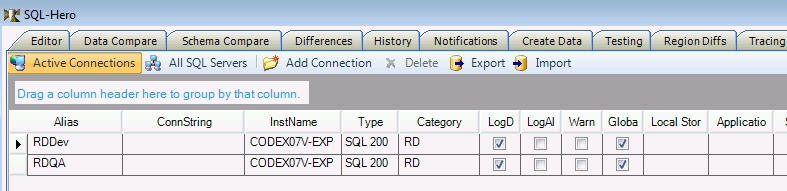
Here we've added two global connections:

One might question: can everyone see these connection strings? Isn't that insecure? When you first install SQL-Hero, everyone is technically a SQL-Hero administrator. In a very small shop, this may be sufficient. In any case where you wish to hide connection details, it's recommended that you establish a SQL-Hero administrator.
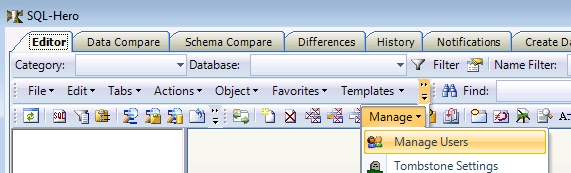
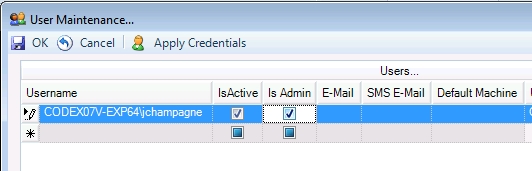
4. Set up a SQL-Hero Administrator by going to the Editor tool. Pick Manage -> Manage Users.
Check the "Is Admin" checkbox for the users who should be able to administer global connections, source control settings and other global aspects of SQL-Hero. Optionally fill in e-mail addresses, and the machine name to associate to the user.
Optionally adjust connection settings, per user, including whether it is even visible.

Now, a different user who isn't a SQL-Hero administrator would see (notice, the connection information is blank):
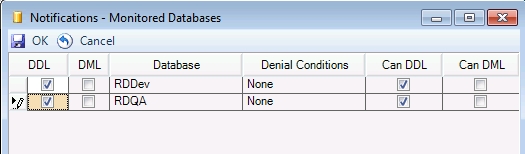
5. Establish global change tracking for a database when changes are made outside of SQL-Hero by going to the History tool. Select "DB Settings":

Pick the databases to monitor:
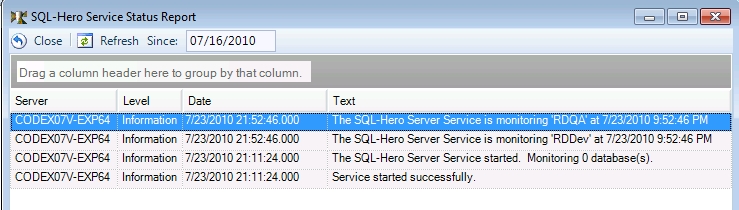
You can verify that the databases are being monitored by going to the Server Logs option, on the Editor tool -> Manage -> Server Logs:
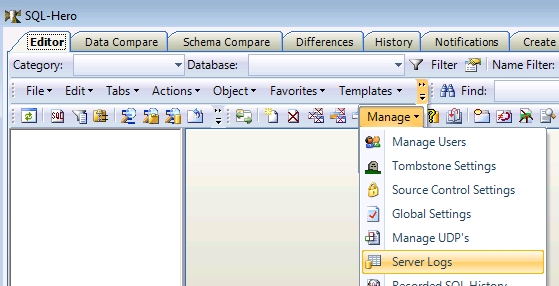
We see that indeed, monitoring is now active:
The history tool is now your gateway to change information, but you can also access it using the object context menu on the Editor tool.